Programming and debugging
raylib on VSCode with C/C++
This practical guide shows a complete setup to configure VSCode for videogame programming with raylib and C/C++.
Whether from Linux, Windows or Mac, at the end of this practical guide we will have prepared an environment to develop from VSCode (or VSCodium) videogames with raylib, including the configuration of debugging and compilation tools, as well as autocompletion and syntax highlighting aids for a better development experience in C/C++.
Table of contents
Downloading the base project
Requirements:
At The Science of Code we have prepared a base project on this repo that allows us to use raylib with C/C++ on VSCode (VSCodium). The project is ready to run on Linux, Mac and Windows.
That said, go to the location where you want to download it and execute the following command:
git clone https://github.com/TheScienceOfCodeEDU/raylib-vscode-c.git
Once this is done, you can see the project contents but before running and reviewing it, we will configure the system.
IDE configuration
For VSCodium install these extensions:
For VSCode install these extensions:
OS configuration
Linux
Fedora:
sudo dnf install gcc-c++ cmake git alsa-lib-devel mesa-libGL-devel libX11-devel libXrandr-devel libXi-devel libXcursor-devel libXinerama-devel libatomicUbuntu:
sudo apt install build-essential cmake git libasound2-dev libx11-dev libxrandr-dev libxi-dev libgl1-mesa-dev libglu1-mesa-dev libxcursor-dev libxinerama-dev libwayland-dev libxkbcommon-dev
Other distro? check here
Clone, compile and install raylib:
git clone https://github.com/raysan5/raylib.git raylib
cd raylib
mkdir build && cd build
cmake -DBUILD_SHARED_LIBS=ON ..
make
sudo make install
sudo ldconfig
For more information, please check here.
Mac
Install brew.
Run these commands:
xcode-select --install
brew install raylib
By default, we enabled LLDB as debugger otherwise you will need to certify the GDB binary.
Windows
Install MinGW-w64: Install MSYS2 under the default folder c:\msys64\, otherwise you will need to modify the tasks under .vscode folder (base project).
When complete, ensure that the box Run MSYS2 now is checked. This will open a MSYS2 terminal. Run this command and install all suggested packages:
pacman -S --needed base-devel mingw-w64-ucrt-x86_64-toolchainInstall raylib: Download raylib win64_mingw-w64 5.5, then extract the archive contents at C:\raylib. At the end of this step you should have the following structure on your machine:
c:\raylib\include\
c:\raylib\lib\
c:\raylib\CHANGELOG
c:\raylib\LICENSE
c:\raylib\README.md
Configure environment variables:
Search for variables under your Windows menu and select Edit environment variables for your system.
Click on Environment variables button, and then select Path and click Edit. Add two new lines:
C:\msys64\ucrt64\binC:\raylib\libSelect OK to save. Re-open any program or console to use the updated PATH.
Test these commands on a terminal to check if everything went OK:
gcc --version
g++ --version
gdb --version
If something fails, double check your PATH values against real folder locations.
Final steps
These steps are not required, but may improve your development experience.
Fix disable automatic header insertion (any OS)
It is recommended to disable automatic header insertion by hitting f1, then typing User Settings (JSON) and pressing Enter. Finally, add the following line to the opened JSON file:
"clangd.arguments": [ "--header-insertion=never" ],
Fix syntax error for raylib.h include (Windows)
On Windows VSCode syntax highlighter won’t find raylib includes by default, to fix this just hit f1, type User Settings (JSON) and press Enter. Finally, add the following lines to the opened JSON file:
"C_Cpp.intelliSenseEngine": "disabled",
"clangd.fallbackFlags": [
    "-IC:/raylib/include"
]
![]()
Running the project
Beforehand, let’s have an overview of the base project’s main files and folders:
.vscode/: this folder contains the IDE configuration including tasks to build and debug C/C++.
main.c: source code for the sample raylib application.
build files for each OS: these files are called by VSCode (or VSCodium) when executing a build task.
- build-linux.sh
- build-mac.sh
- build-win.bat
If you are planning to use other libraries feel free to modify build files.
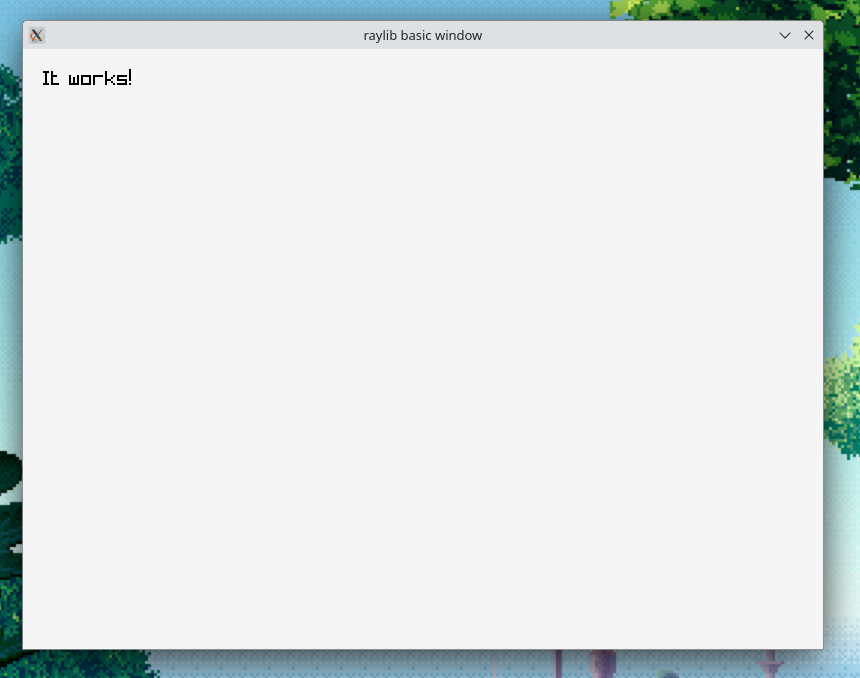
Now, just open the project folder using the IDE and press ctrl + shift + b to build for Linux, Windows or Mac. Then press ctrl + shift + d to Debug, just double check that you are choosing the right OS. You should see a window containing a text. You may also add debug breakpoints as required.
Congratulations! You have everything ready to start making videogames with raylib and VSCode (or VSCodium).

